Innovative Building Solutions
We provide practical and efficient building solutions designed to meet modern construction needs. Explore our V-Plus Panel system and the materials, tools and equipment used throughout the installation process.
Product Information
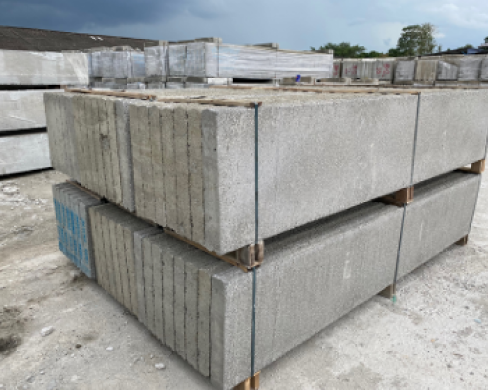
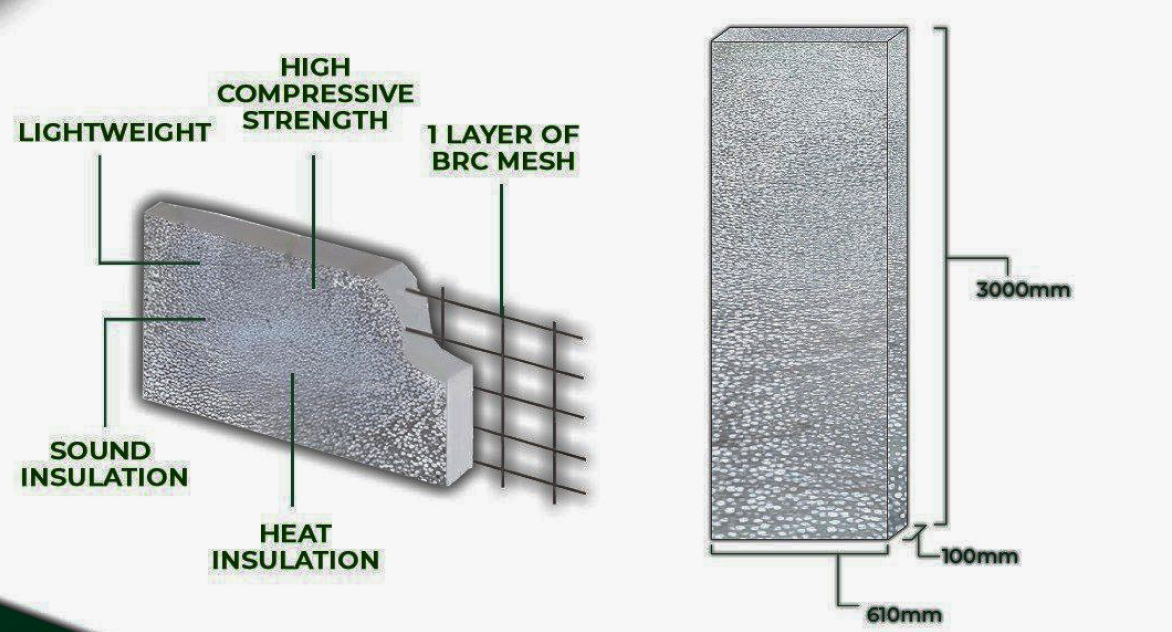
V-Plus Panel
The V-Plus Panel is an innovative construction solution designed for quick and efficient wall installation, providing strength, durability and adaptability for various structural needs. Ideal for both residential and commercial applications, the V-Plus Panel simplifies installation while maintaining high-quality standards.
V-Plus Panel
Materials & Tools
Explore the materials, machinery, tools and equipment used throughout the V-Plus Panel installation process.
01
Material
V-Plus Panel
02
Material
Cement Adhesive
03
Material
Skimcoat Adhesive / Plaster Render

01
Machinery
Cement Blender

02
Machinery
Circular Saw
01
Tool
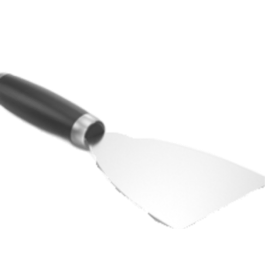
Scrapper

02
Tool
Cement Scope

03
Tool
Grinder
04
Tool
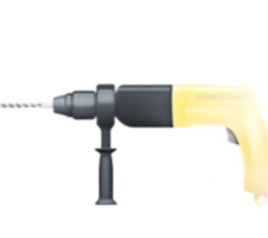
Drill
05
Tool
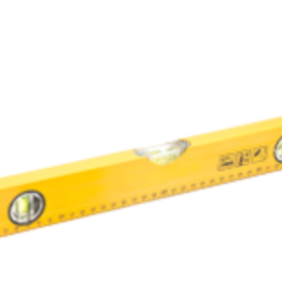
Water Level
06
Tool
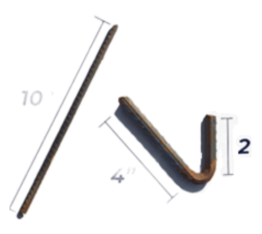
Y10 Steel
07
Tool
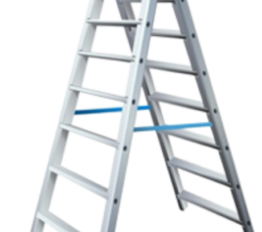
Ladder
01
Equipment
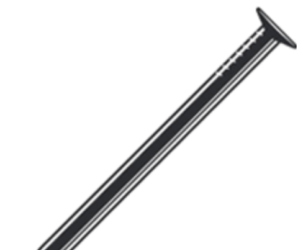
Concrete Nail
02
Equipment
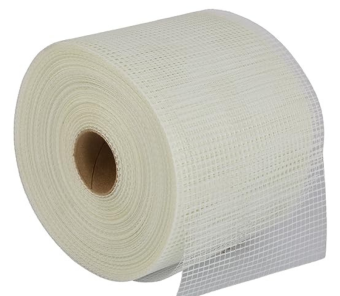
Fiber Mesh
03
Equipment
Timber
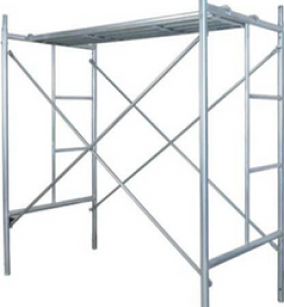
04
Equipment
Staging

05
Equipment
Steel
How to Install V-Plus Panel
Follow the installation process step by step to ensure the V-Plus Panel is properly positioned, secured and finished.
Site Preparation

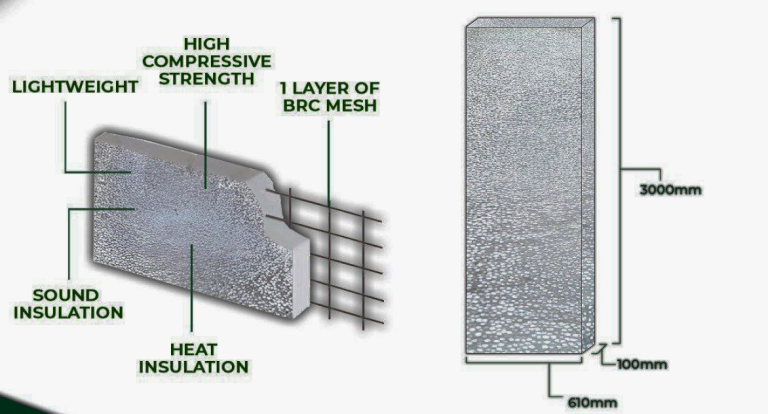
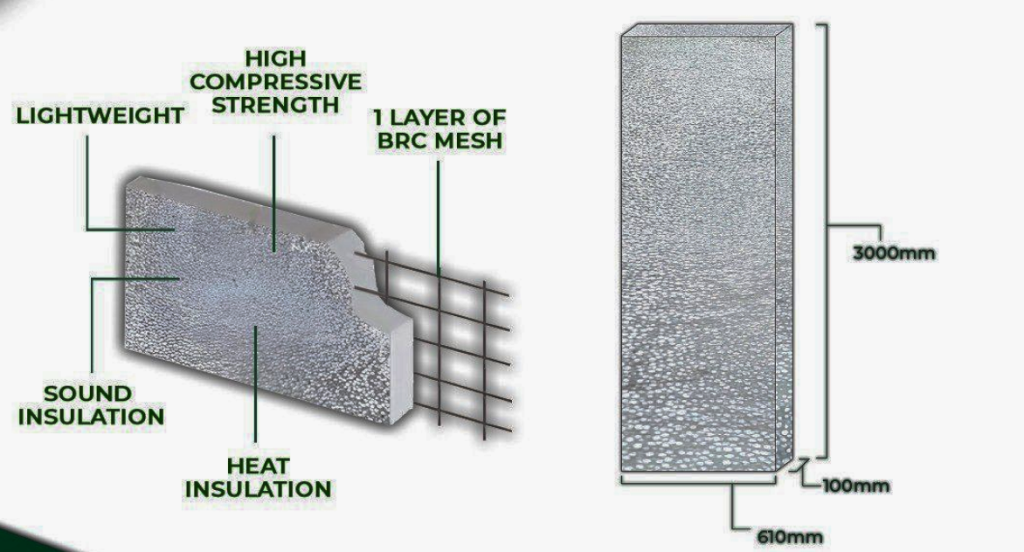
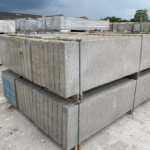
V-Plus Panel
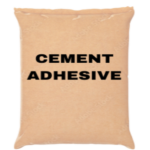
Cement Adhesive
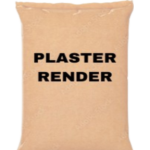
Skimcoat Adhesive/ Plaster Render

Cement Blender

Circular Saw
Scrapper

<span data-metadata=""><span data-buffer="">Cement Scope

Grinder
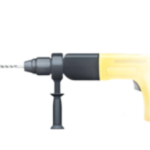
Drill
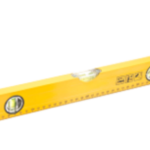
Water Level
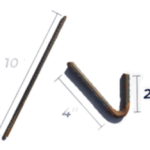
<span data-metadata=""><span data-buffer="">Y10 Steel
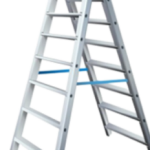
Ladder
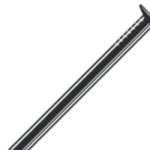
<span data-metadata=""><span data-metadata=""><span data-buffer="">Concrete Nail
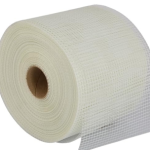
<span data-metadata=""><span data-buffer="">Fiber Mesh
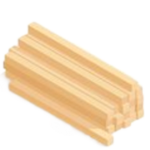
<span data-metadata=""><span data-buffer="">Timber
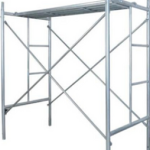
<span data-metadata=""><span data-metadata=""><span data-buffer="">Staging

<span data-metadata=""><span data-buffer="">R6 Steel


i) Mix the cement adhesive with 4:1.25 ratio to the water using blender.
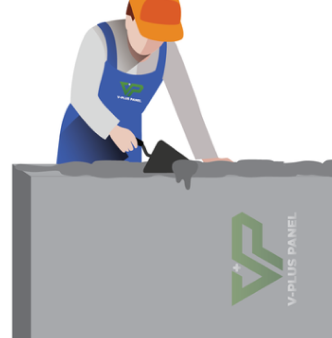
ii) Paste the cement adhesive on the side of V-Plus Panel.
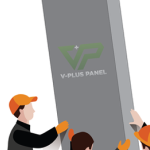
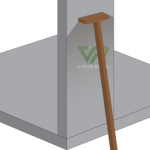
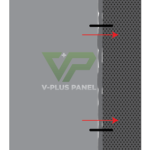
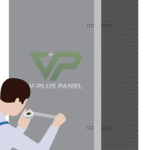
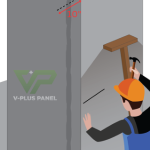
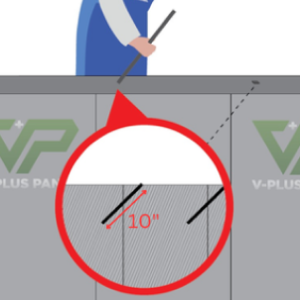
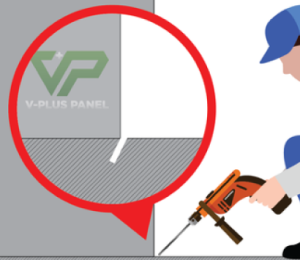
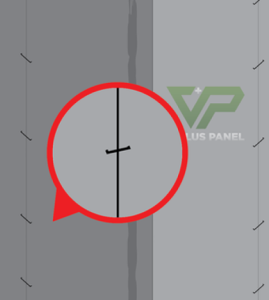
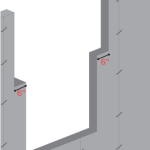
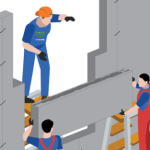
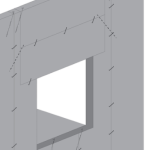
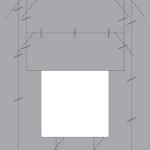
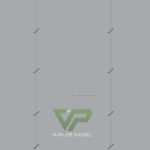
i) Mark the spot that need to be cut.
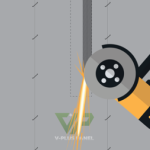
ii) Cut the marked area using grinder.
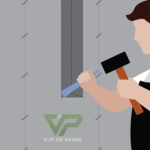
iii) Use the chisel to clean the debris.
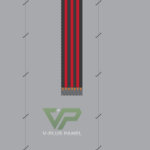
iv) Install the electrical pipe in the wall.
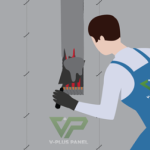
v) Fill the void area using mortar.
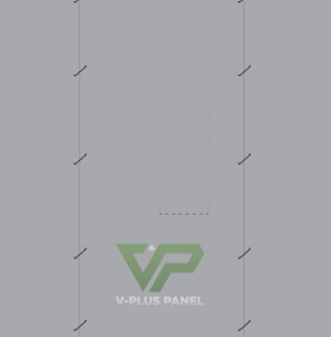
i) Mark the spot that need to be cut.
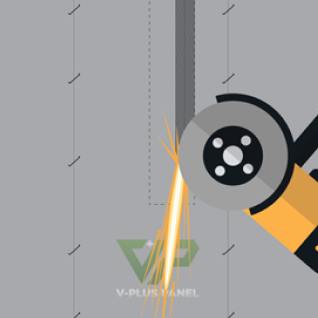
ii) Cut the marked area using grinder.
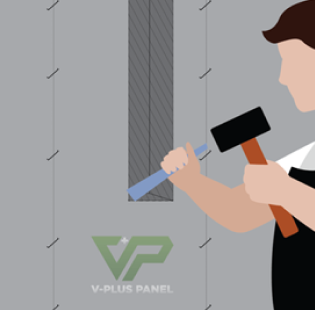
iii) Use the chisel to clean the debris.
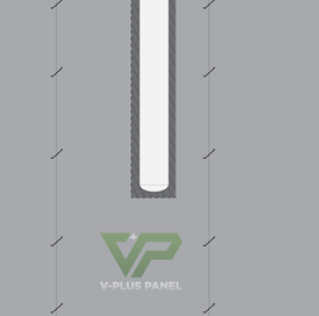
iv) Install the pipe in the wall.
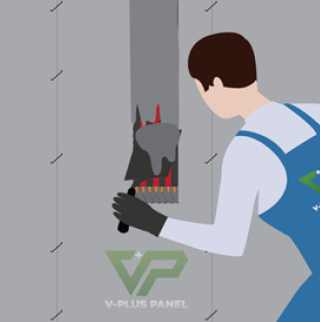
v) Fill the void area using mortar.
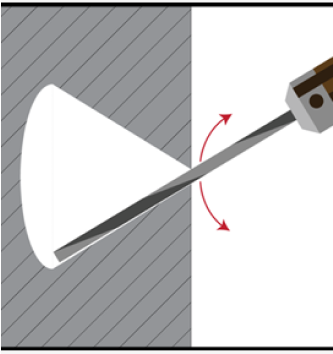
i) Drill Hole
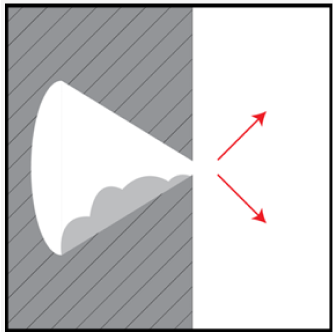
ii) Remove Dust
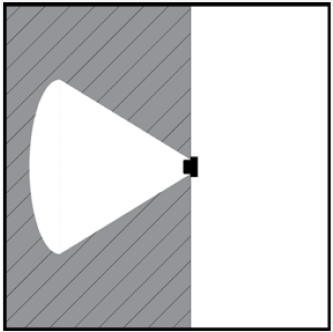
iii) Insert Sleeve
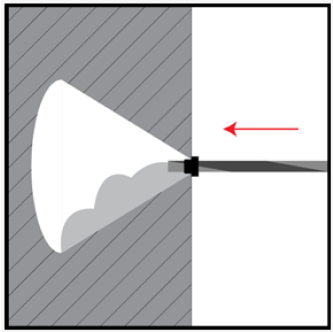
iv) Inject Chemical Sealant (V-Tech VT-230 / Statheros EPC80 Epoxy)
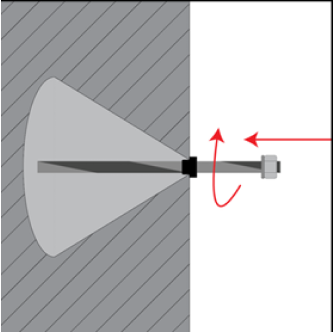
v) Insert Bolt
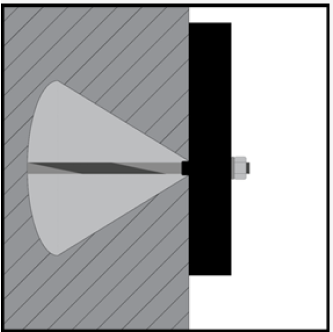
vi) Fix Bracket / Nut